
How to add a registered date column in WordPress
1. Install and activate the Admin Columns plugin.
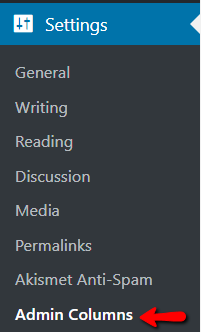
2. In the left sidebar hover over “Settings”, and in the drop down click on “Admin Columns”.
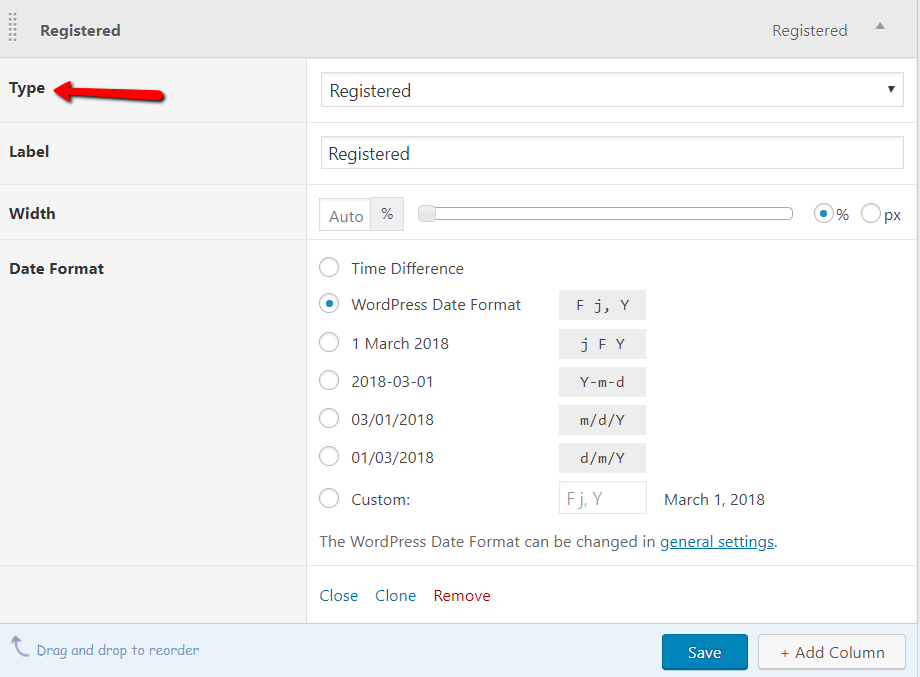
3. In the configuration page, click on “Users” in the drop down, then click on “Add Column”.
![]()
4. Select ‘Registered” in the “Type” drop down menu and click “Save” below.
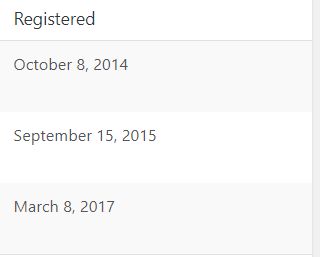
5. Visit the “Users” page and you should now see a “Registered” column.
Thank you for taking this tutorial and I’ll see you later.